Categories
GTX CookBook V.2.0
A reference guide for all GTX Series users
Environmental Conditions
Mandatory Temperature & Humidity Requirements:
Required to keep the warranty! Temperature & Humidity are recorded in the Log file!

- Go to the menu
- Maintenance
- Temperature/Humidity info
- Ok
If temperature too cold, printer will switch automatically to Low-Temp Mode and reduce the speed!
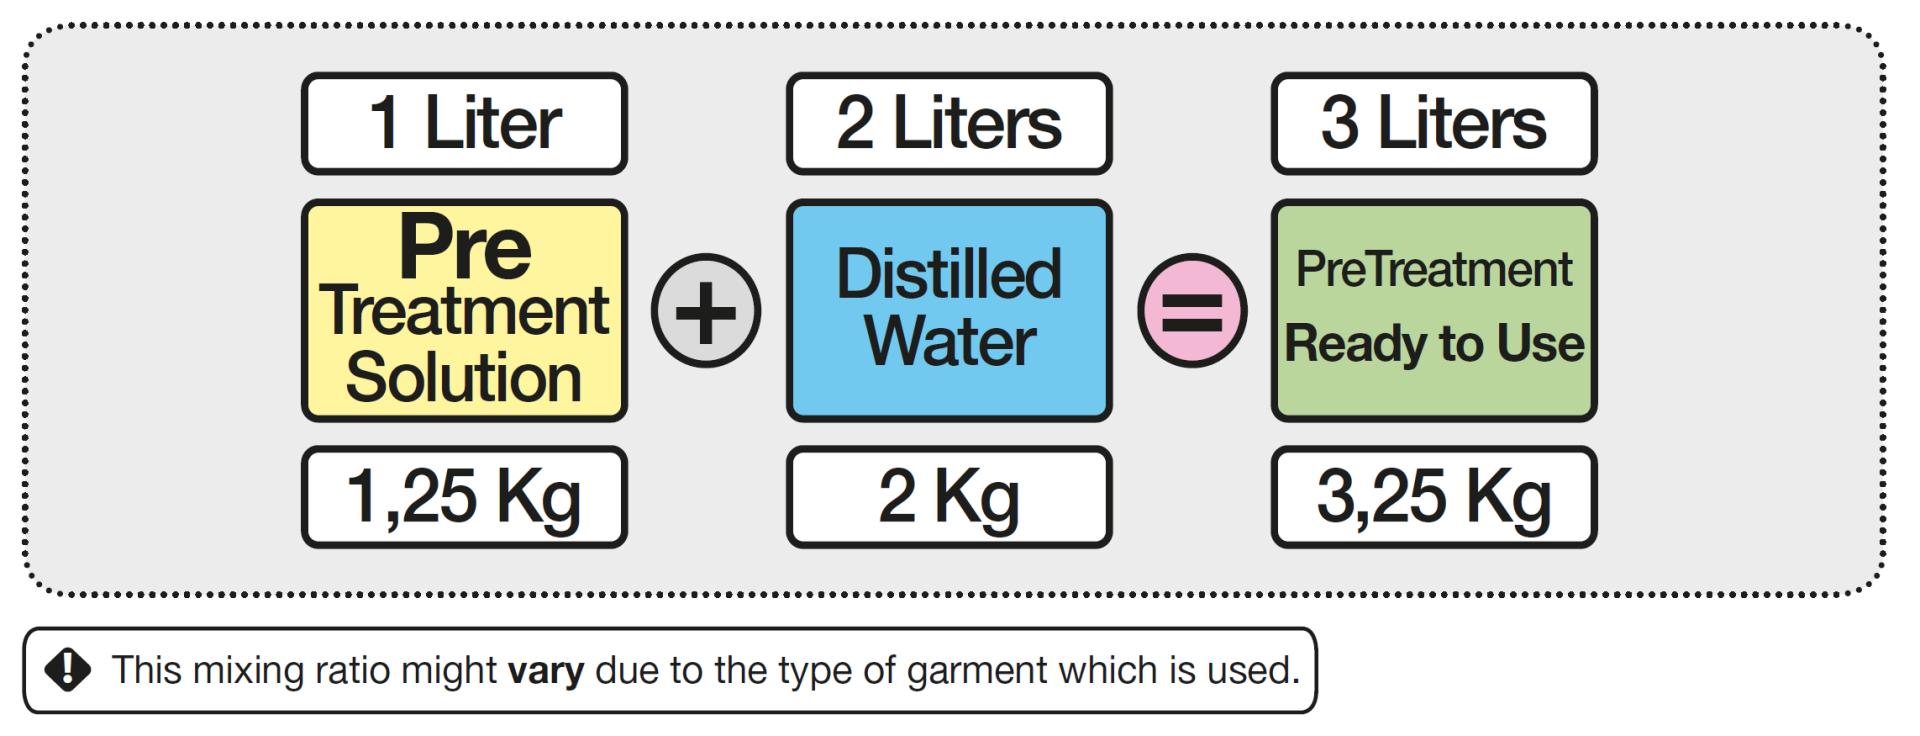
PRE-TREATMENT RATIO
PRE-TREATMENT QUANTITY on T-SHIRTS

Don’t forget that you have to define a surface of 14 X 16 inches (35 X 40 cm) with your Pre-Treatment machine to weight with a scale after applying the PT liquid on a T-shirt! For example, on a Schulze PTM, you should enter a lenght of 36 cm and the full width with 4 nozzles will be 40 cm!
HEAT PRESS SETTINGS for Pre-Treatment DRYING

HEATPRESS & TUNNEL DRYER SETTINGS for INK CURING

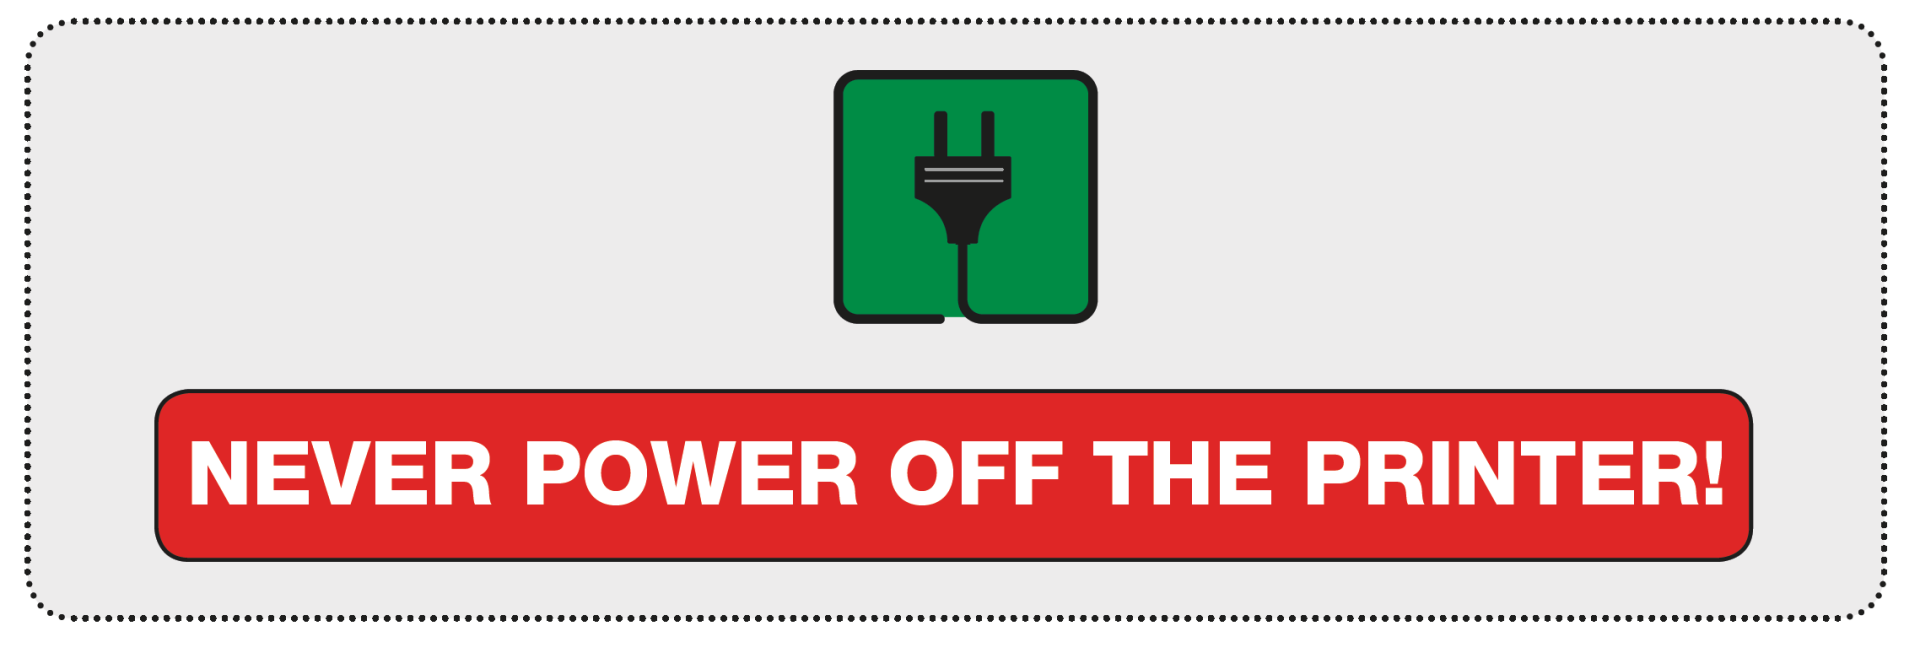
Very important: The Brother GTX should ALWAYS be left with Power ON
NEVER shut OFF the printer except if requested by the display informations! Power is requested to perform the needed recirculation of the inks from time to time.
DAILY AGITATION OF WHITE INK
Perform the procedure shown below if the message "Remove the white ink cartridge and shake it" is displayed before starting operation.
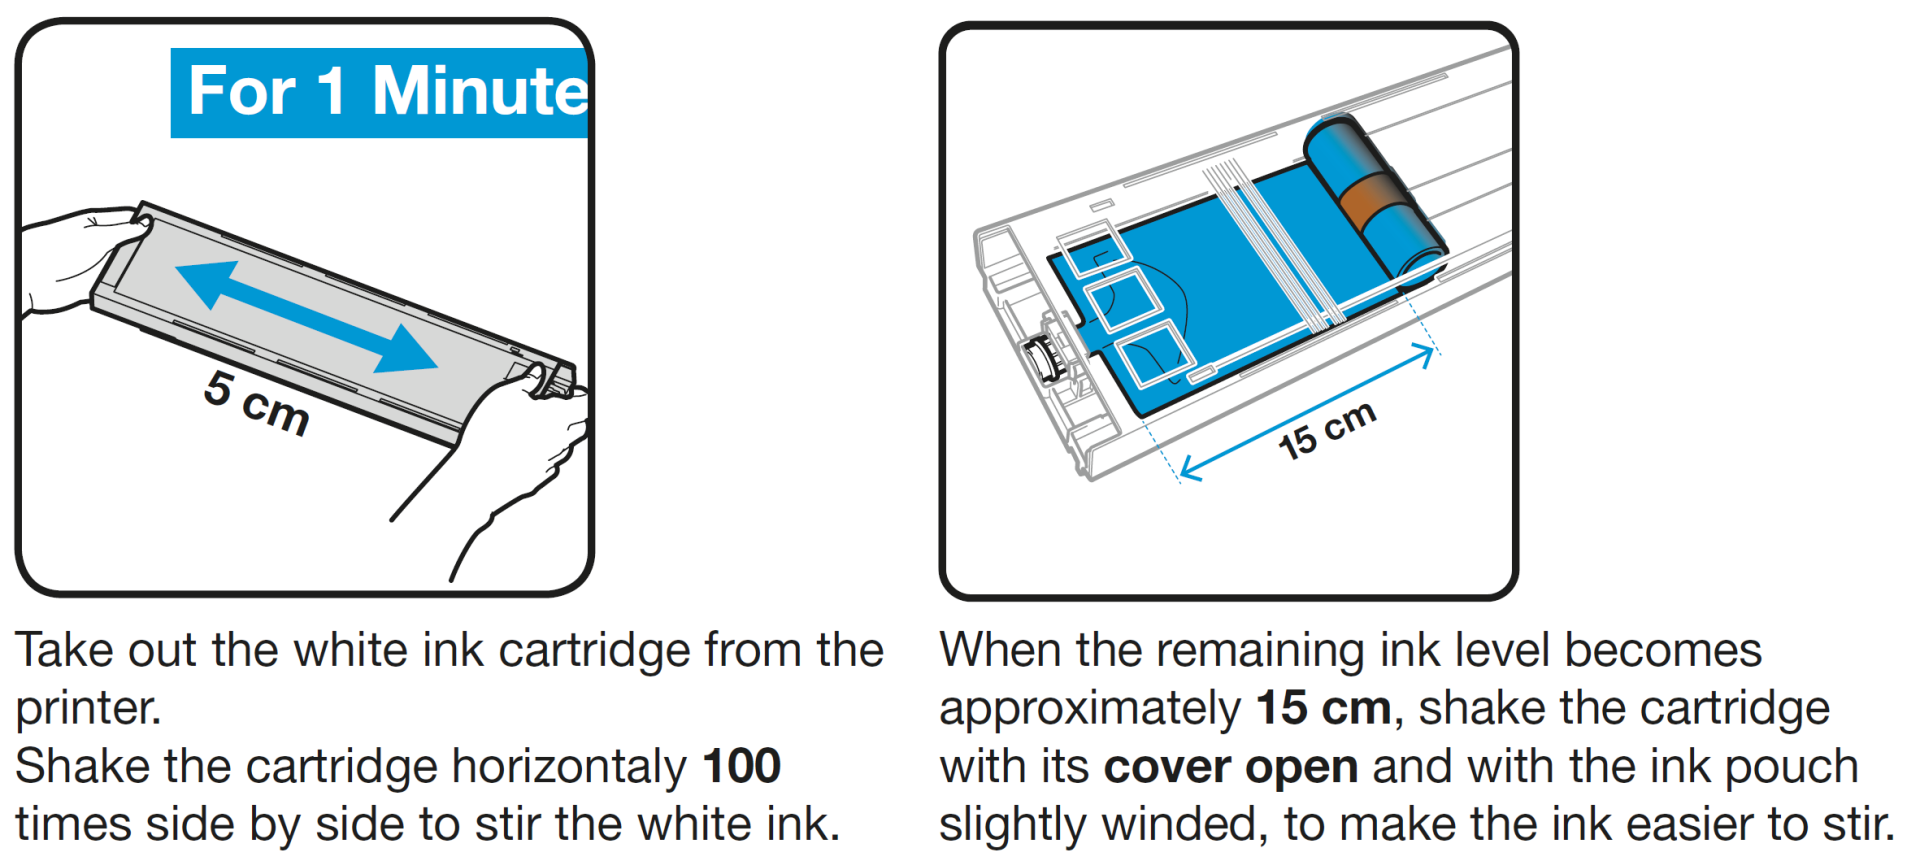
Repeat the same process on the other white ink cartridge! On the operation panel, press OK and the White Ink refilling will be performed automatically by the printer!
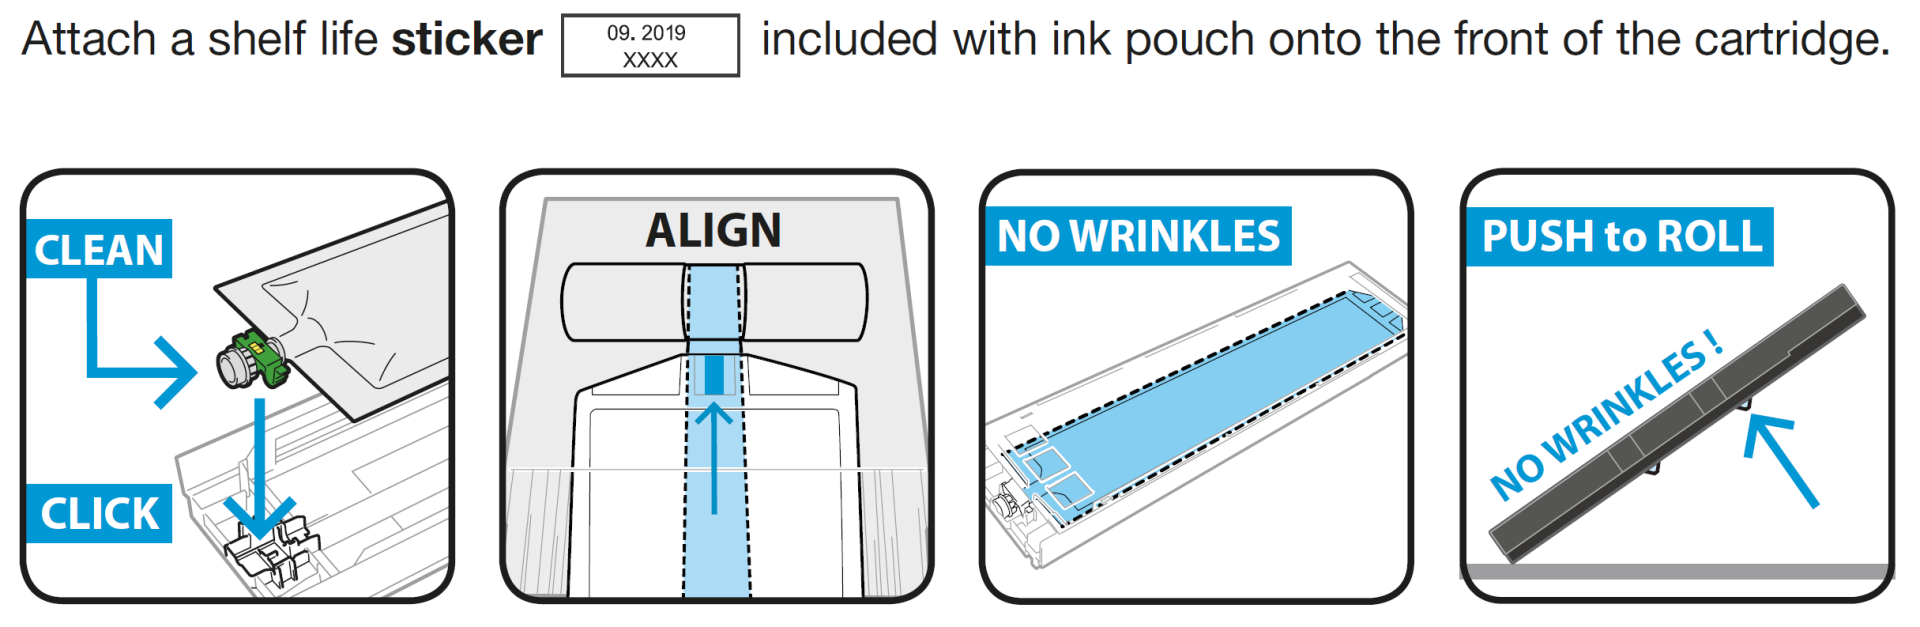
POUCH REPLACEMENT - VERY IMPORTANT !
Open the cartridge's lid on a flat surface and remove the empty pouch. Unpack carefully a new ink pouch from its shipping carton. Push the green tip end of the ink pouch into the cartridge until it clicks into place. Straighten the ink pouch to align it with the gutter of the lid of cartridge, and mount in position inside the metal spring by pulling it with your hand. If the edge of the ink pouch is bent or undulating significantly, make it straight and flat with your hand to avoid wrinkles. Place the pouch in a straight alignment with the cartridge. Align lines with each other! Close the lid, verify if the spring is rolling to the front. Place the cartridge at around 45° and push on the 2 upper metallic latches to add a bit more tension on the ink pouch. Double-check that you have not generated some wrinkles again ! Clean the outside of the green tip end that goes in contact with needle inside printer.